Your cart is currently empty!

Discover the Beauty of Drying and Displaying Hydrangeas in Your Home
Dried hydrangeas are a beautiful and affordable way to add rustic charm to your home. They come in various colors and last much longer than fresh flowers. Once dried, they can be displayed in vases, bottles, or jars, adding a touch of elegance to any room.
This post may contain affiliate links. At no cost to you, I may earn a small commission if you click on any affiliate link within my blog. Some of the content on this website was created with the help of AI.
How to Dry Hydrangeas
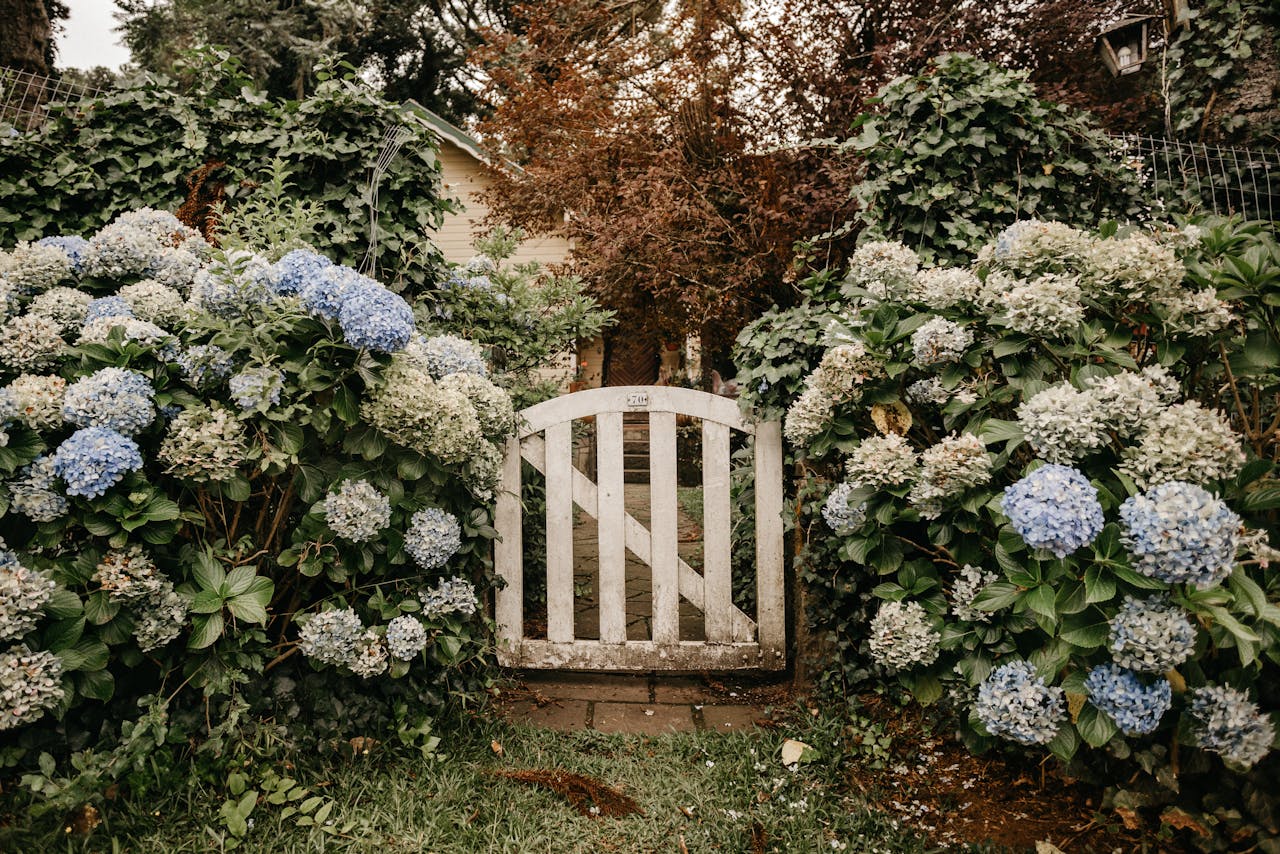
Have you ever been captivated by the sight of a hydrangea bush in full bloom? The fluffy clusters in shades of blue, pink, or white are a true showstopper in any garden. Drying hydrangeas is a simple way to preserve their beauty for long-lasting enjoyment. By following a few easy steps, I was able to successfully dry hydrangeas at home and create stunning dried flower arrangements.
Don’t get me wrong, freshly cut hydrangeas look amazing but they don’t last forever. Faux hydrangeas often look so real and also just as amazing.
But the beauty of dried hydrangeas was something I had taken a liking to and so I decided to try my hand at how to dry hydrangeas myself.
I wanted to add the soft natural tones to my farmhouse cottage styled home and preserved hydrangeas seemed a simple and inexpensive way to enjoy their beauty for a long time after they had bloomed.

Here’s why hydrangeas, both fresh and dried, are the perfect addition to your home!
The best time to pick hydrangeas
The best time to harvest your hydrangeas for drying is just after the blooms have reached their peak and have started to lose their colour and turn green. This gives them a beautiful green/ purple colour upon drying.
I actually found leaving them in water for a few weeks helped them stay a faded green whereas putting them in a vase with no water made them turn slightly purple. Here’s how I did it.
How to Dry Hydrangeas Naturally: Air Drying
By accident you may have dried a gifted bunch of flowers before by leaving them in a vase for way too long.
When you actively set out to dry them properly for display purposes they can actually turn out better! One of the simplest ways to dry hydrangeas is by air-drying them.
I followed these 4 simple steps to dry hydrangeas from my own garden:
- Cut the hydrangeas after they have bloomed and turned a green colour. Try to keep the stems at least 20 cm long.
- Remove all leaves from the stems.
- Tie the stems together with a rubber band (optional)
- Pop them into a vase with or without water
Another alternative is to tie the stems together and hang them upside down in a dark but well-ventilated area as this will help prevent mould.
Either process can take a few weeks so be patient and be sure to keep them away from direct sunlight.
I found that leaving them in a vase helped them keep their shape and their colour and I have been able to enjoy their beauty for quite some time.

Creatively Displaying Your Dried Hydrangeas
Preserved hydrangeas are so versatile as there are many ways to display and decorate with these timeless beauties.
Once they are dried you could just leave them in the vase they dried in or get creative with a range of other vessels to display them in.
Vintage vases, amber glass bottles, pretty teacups, silver goblets, stoneware jars or bottles are just the tip of the iceberg.

The more whimsical the vessel the more eclectic the look.
Mixing and matching with other dried flowers such as Babies Breath can add a charming vintage look with a single colour palette that is perfect for rustic or shabby chic decor styles.
Preserved hydrangeas look great in various rooms in your home.
Create a captivating centrepiece to display on your kitchen bench, add a rustic bouquet to your bedside table, or craft an arrangement to brighten up your bathroom.

In conclusion, I found drying and displaying hydrangeas in my home was a very rewarding experience and has allowed me to enjoy their beauty long after having them in my garden.
I hope to add to the natural beauty they have given my living space each year. And if need be older stems could be replaced over time. Drying my own hydrangeas to use as decor is easy to do, costs virtually nothing and adds a timeless elegance regardless of my decorating preferences.
 Skip to content


